Clay Turkey
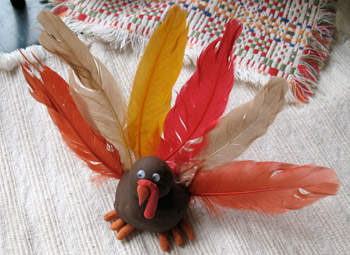
Make this cute turkey from modeling clay and feathers and display it on your Thanksgiving table. It’s a fun way for the kids to keep busy while dinner is cooking.
What You Need
- Modeling clay: brown, red, orange
- Toothpick
- 2 small wiggle eyes
- feathers in fall colors
How To Make It
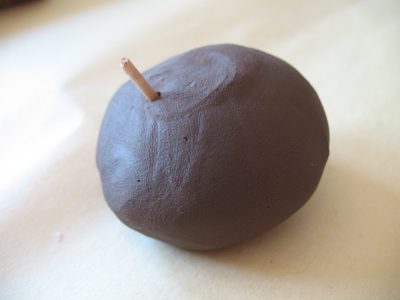
1. Roll brown clay into one large ball and one small ball. Cut or break toothpick in half, poke half of the toothpick into the large ball (body) wherever you want the head to be. Place the head onto the exposed toothpick.

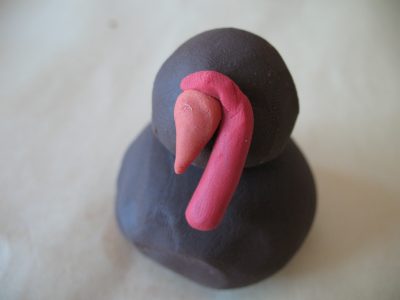
2. Roll a small piece of orange clay into a beak. Break or cut the remaining half toothpick in half again and push into the front of the face where you want the beak to be. Press the beak onto the toothpick.
3.Roll a small piece of red clay in your fingers to form the wattle. Press the wattle over the top of the beak and down one side.

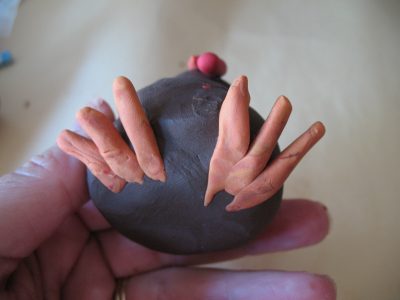
4. Roll out six small pieces of orange clay. Press three next to each other on the bottom of the turkey toward one side, and the other three on the other side.

5. Trim the long shaft from the feathers then poke the feathers into the back of the turkey.
Helpful Hints
- We used modeling clay that does not harden or crack. When the kids are done they can always reshape it and make something else!
-
If you don’t have feathers, make your own out of construction paper.
-
Instead of wiggle eyes, you can use white and black clay.
This project was created by Amanda Formaro, originally for Kaboose/Spoonful.
beautiful