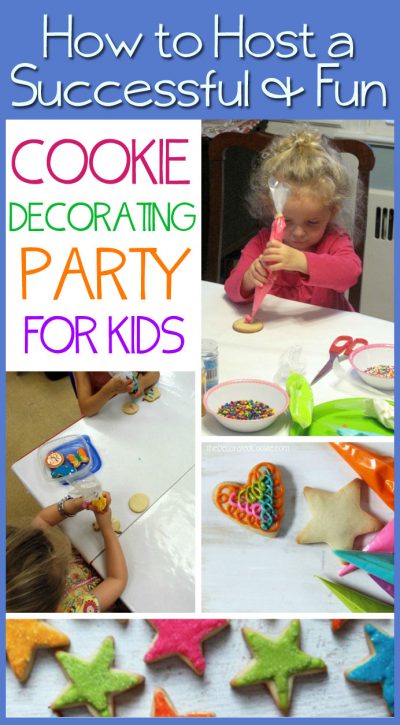
There is at least one near-universal truth about kids: they love decorating cookies. Every time I’ve led a cookie decorating activity for kids—in my home, at festivals, or in the classroom—every single child attacked their cookies with a joyous fervor. Here are some tips to lead a cookie decorating activity for kids of any age with minimal chaos and only a few flying sprinkles.
What to prepare ahead of time:
Up to three days ahead of the activity, prepare cookie dough and bake whatever shape cookies you like. Seal the cookies in plastic containers until the day of the event.
Up to a week in advance, prepare royal icing, divide it, and mix your colors. Fill disposable decorating bags (found at the craft store) with about ½ cup of icing and close tightly with rubber bands. Don’t worry about couplers and tips, the kids won’t need them. And don’t snip the tips of the bags until right before the activity. For color choices, I tend to stick with the rainbow: Red, orange, yellow, green, blue, purple, white and pink. I usually make several bags of the same color. You should have at minimum the same number of icing bags as there are children. And make sure not to prepare your icing too thick for the kids to squeeze and not so thin that the icing runs all over the cookie. Store icing at room temperature until the day of the event.
What shape cookies to bake:
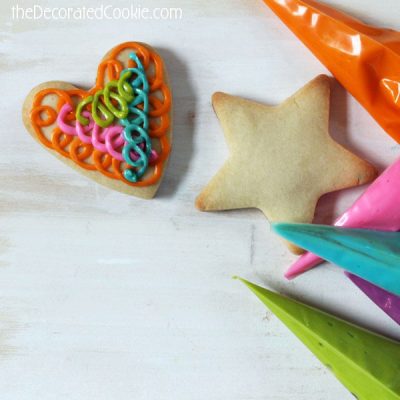
Kids will love to decorate any shape cookie. I often stick with basic shapes, like circles, stars or hearts. Check online for design ideas and offer suggestions such as rainbows, smiley faces or just stripes and polka dots. Kids might like to make sports balls, star cookies, or something seasonal, like summer cookies or back to school cookies.
What supplies to have at the activity:
In addition to the cookies and icing, you will need freezer or parchment paper to line the tables, scissors to snip the tips of the icing bags, sanitizing wipes, and plenty of paper towels.
I also find it useful to have paper plates marked with each child’s name. The child can decorate the cookies right on the plate and then move them aside to dry.
You may also provide smocks, as colored icing can stain clothing.
How to set up:
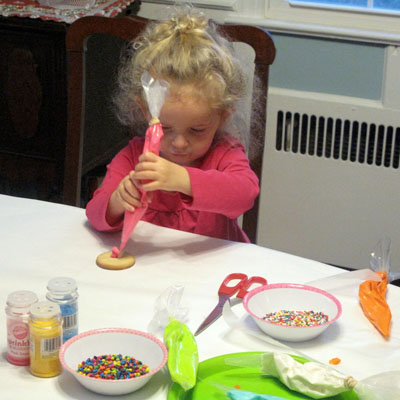
Line empty table(s) with freezer or parchment paper. Place the icing bags in the center of the table(s) for the kids to share. Snip ¼ inch from the tips of the icing bags, or up to ½ inch if the kids have a hard time squeezing the icing out of the bag. You can also place a few containers of sprinkles on the table, but avoid nonpareils, as they roll around everywhere, especially off the table and on to the floor. Give kids their paper plates and cookies and let them go nuts.
How many cookies per kid and how long the activity takes:
The number of cookies kids should decorate will depend on the time allotted. The youngest kids may only take a few minutes. Older kids will take longer. I usually give kids two to three cookies to decorate, and the activity takes about 30 to 40 minutes, not including set up and clean up.
Here is a general time guideline for what to expect:
- Younger kids, ages 2 to 4, tend to squeeze icing on the cookie in seconds.
- Elementary age kids, 5 to 8, tend to take a bit more care with their cookies, but they also might go for the “how much icing can I fit on a cookie” method of decorating. They take about 5 to 10 minutes per cookie.
- Middle grade kids, 8 and up, take the most care and attention planning and executing their design. Each cookie may take 15 minutes (or more!).
How many of these cookies the kids are allowed to consume I leave up to those in charge.
Cleaning up:
Set the cookies aside to dry. Cookies will dry enough to handle and stack if left at room temperature overnight, however in just an hour or two the cookies will set enough to let the child carry the cookies home on the plate.
Kids can throw away the paper covering the tables and any used icing bag. Wipe down the area and enjoy the cookies!
Meaghan Mountford, author of Sugarlicious: 50 Cute and Clever Treats for Every Occasion, has been creating crafty sweets for 15 years. She is especially fond of decorating cookies, marshmallows and putting sweets on sticks. See more on her blog, the decorated cookie.