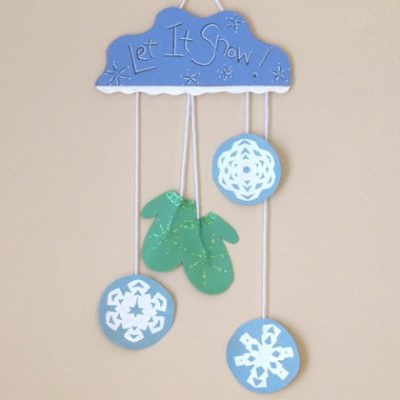
Mitten and Snowflake Wall Hanging
Here’s a cute wall hanging to help celebrate the winter season. Tack this project up in a window for a festive seasonal decoration. Let it snow!
What you’ll need:
- Cereal box or other thin cardboard
- Black marker
- Construction paper: blue, light blue, and green
- 1 sheet white copy paper
- White glitter glue
- White paint pen
- White yarn
- Packing tape
- Scissors
How to make it:
- Use a marker to draw a shape on the thin cardboard that has at least one straight side. The straight side should be about 6-7″ long. You can make a half circle, a triangle, or even a scalloped type edge like we did. Cut out your shape. This will be your cloud template.
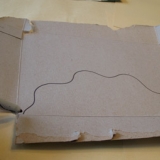
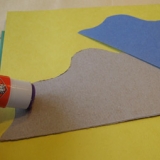
2. Place the cardboard template onto the blue construction paper, lining up the straight edge with a straight edge of the paper. Trace around the template and then cut out the shape from the blue paper. Use a glue stick to attach the blue paper cloud onto the cardboard template.
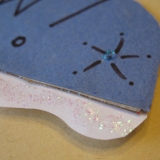
3. Turn the cloud over and run a line of glue along the straight edge, about ½” wide. Lay the white paper over the top of the glue and press down to seal. Trim the white paper, leaving a scalloped edge hanging below the blue template. Use glitter glue to decorate the white scalloped edge and set aside to dry.
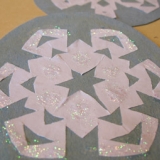
4. Cut 3 paper snowflakes from white paper, about 3″ x 3″. Glue the snowflakes to the light blue construction paper. When dry, cut around each snowflake, giving them each a round border. Decorate each snowflake with glitter glue.
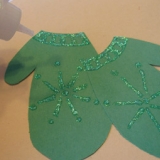
5. Cut two mitten shapes from the green paper. Overlap the mittens slightly, then glue them together at the overlap. Decorate mittens with glitter glue and set aside to dry.
6. Use black marker to write the words “Let It Snow!” across the front of your blue cloud, then decorate with little snowflakes if you wish. Use a white paint pen to highlight the lettering by running a white line alongside the black lines of the letters.
7. Once the snowflakes and mittens are dry, cut 5 strands of white yarn, about 15″ long each. Use packing tape to attach the yarn to the back of each snowflake and each mitten. Attach each one to the blue cloud, staggering their heights so that they won’t overlap each other. Tape a shorter piece of yarn to the back as your hanger.
Helpful Tips:
- Instead of paper snowflakes, children can use glitter glue or white paint pens to draw snowflakes onto the light blue paper.
- Glitter glue takes several hours to dry, so be sure and plan accordingly. To make for speedier drying times, gently smear the glitter glue around with your finger to make the glue surface flatter.
This project was created by Amanda Formaro, originally for Kaboose/Spoonful.